Freezing corn on the cob is an excellent way to preserve its sweet, fresh flavor and enjoy it long after the harvest season ends. With a few simple steps, you can ensure your corn retains its taste, texture, and nutritional value. This guide explains how to freeze corn on the cob properly and provides tips for using it later.
Why Freeze Corn on the Cob?
- Preserve Freshness: Enjoy summer corn throughout the year.
- Reduce Waste: Store excess corn before it spoils.
- Convenience: Have pre-prepped corn ready for quick meals.
What You’ll Need
- Fresh corn on the cob
- Large pot for blanching
- Bowl of ice water
- Sharp knife (optional, for cutting kernels)
- Baking sheet
- Parchment paper (optional)
- Freezer-safe bags or containers
- Permanent marker for labeling
Step-by-Step Guide to Freezing Corn on the Cob
1. Choose Fresh, High-Quality Corn
Select ears of corn that are bright, plump, and free from blemishes. For the best results, freeze corn as soon as possible after harvest or purchase.
2. Husk and Clean the Corn
- Remove the husks and silks from the corn.
- Rinse the ears thoroughly under cold running water to remove any remaining silk or debris.
3. Decide How You Want to Freeze It
You can freeze corn in three ways, depending on how you plan to use it:
- Whole on the Cob: Best for grilling or boiling later.
- Cut into Smaller Sections: Easier to store and portion.
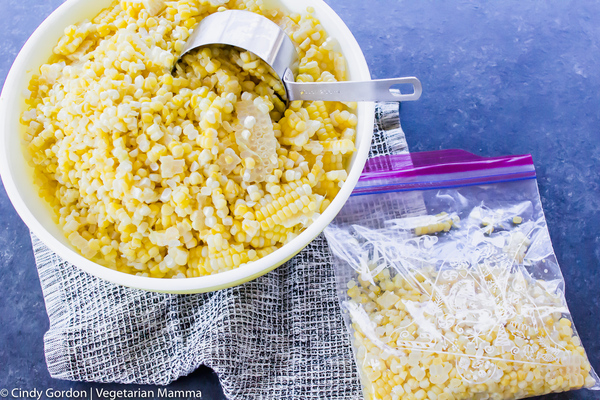
- Kernels Only: Ideal for soups, salads, and casseroles.
4. Blanch the Corn
Blanching helps preserve the color, flavor, and texture of the corn.
- Bring a large pot of water to a boil.
- Add the ears of corn and blanch for 4 minutes for whole cobs or 2-3 minutes for smaller sections.
- Immediately transfer the corn to a bowl of ice water to stop the cooking process. Let it cool completely (about 5 minutes).
5. Drain and Dry the Corn
Remove the corn from the ice water and pat it dry with a clean kitchen towel or paper towels. Ensure it’s completely dry to prevent ice crystals from forming.
6. Pre-Freeze (Optional)
If freezing whole cobs or sections:
- Line a baking sheet with parchment paper.
- Arrange the corn in a single layer, ensuring they don’t touch.
- Place the tray in the freezer for 1-2 hours until the corn is firm.
7. Transfer to Freezer Bags or Containers
- Place the pre-frozen corn (or kernels) into freezer-safe bags or containers.
- Remove as much air as possible to prevent freezer burn. Using a vacuum sealer is ideal.
- Label the bags with the date and contents (e.g., “Corn on the Cob – Jan 2025”).
8. Store in the Freezer
Store the bags in the freezer, ensuring they are laid flat for easy stacking. Frozen corn can last up to 12 months, but it’s best used within 6-8 months for optimal quality.
Tips for Using Frozen Corn
- Whole on the Cob: Boil or grill directly from frozen. For boiling, cook for about 5-7 minutes until heated through.
- Kernels: Add frozen kernels directly to soups, stir-fries, casseroles, or salads.
- Avoid Overcooking: Frozen corn requires less cooking time than fresh corn to maintain its texture and flavor.
Common Mistakes to Avoid
- Skipping Blanching: Unblanched corn can lose flavor and texture in the freezer.
- Storing Wet Corn: Excess moisture can lead to ice crystals and freezer burn.
- Overcrowding Bags: Leave some space in the bags to make sealing easier and storage more efficient.
Conclusion
Freezing corn on the cob is a simple way to preserve the taste of summer for year-round enjoyment. By following these easy steps, you can keep your corn fresh, flavorful, and ready for a variety of delicious dishes whenever you need it.


